/////////// /////////

STYLE SHEET

Pantry

MAISON_Haven_Mag_Style_Sheet-04.png

Pantry

We take you behind-the-scenes of a project and break down exactly how we did it. Follow our guide and whip your panty into shape, fast!

maison-haven-style-sheet-pantry-main copy.png
 

THE BRIEF: transform this pantry into a streamlined, functioning space for a family of four.

THE APPROACH: we used Maison Haven’s signatures 3-step technique: edit, organize, style. We worked with the client to edit out any food items that were out of date or unlikely to be used. We created a personalized system, and then we sprinkled the visual fairy dust!

 
maison_haven_organizers_style_sheet_PANTRY-ZONES.png

1..

Zones


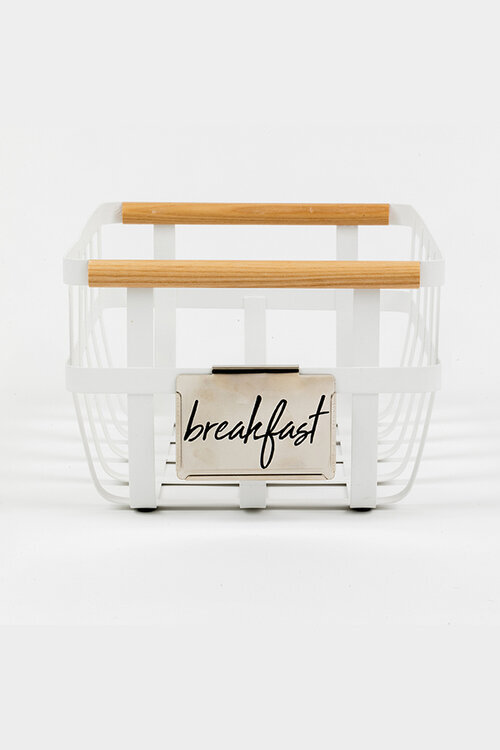
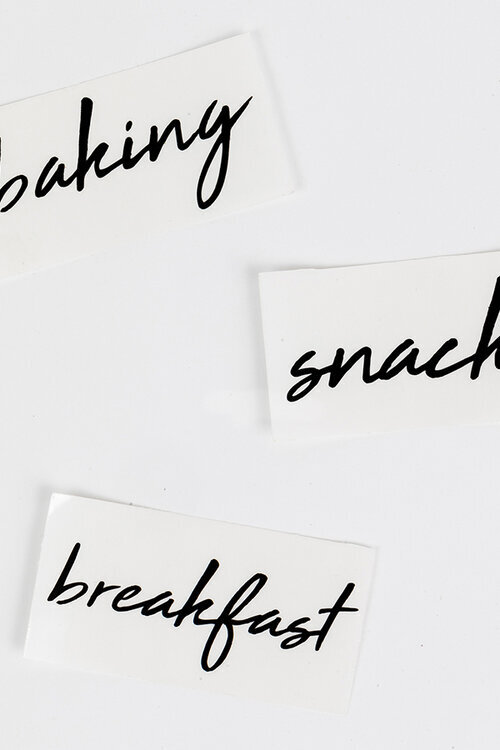
Whenever we’re designing a pantry system we spend time talking through not just what a client eats, but how they eat. Is their breakfast leisurely or rushed? Do cereal and snacks need to be on a lower shelf so little hands can access? Is the client cooking dinner from scratch most nights? Rule of thumb is this: anything you’re reaching for more than twice a week needs to be prime real estate. No bending down, no reaching up high. In this case, we designated each shelf a separate zone: the bottom is Breakfast, then Snacks, then Dinner, then Baking.


maison_haven_organizers_style_sheet-pantry-storage.png

2. STORAGE


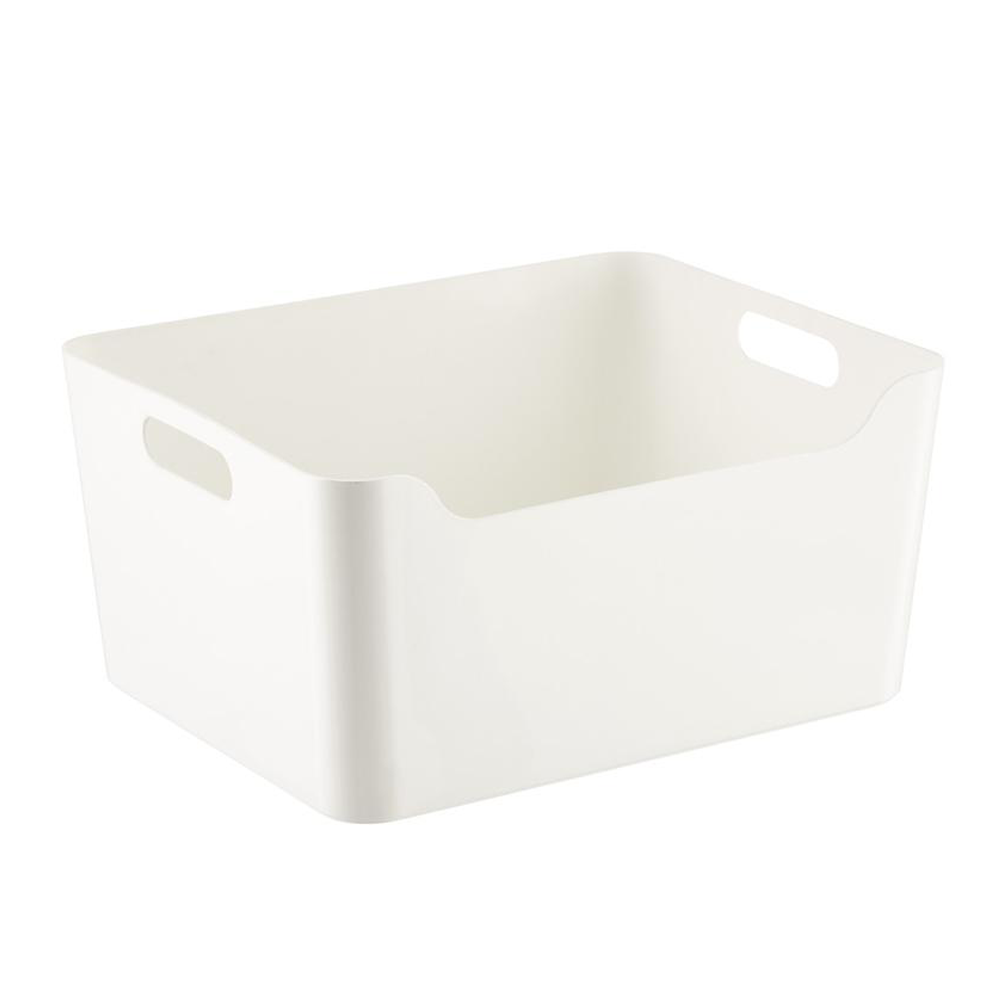
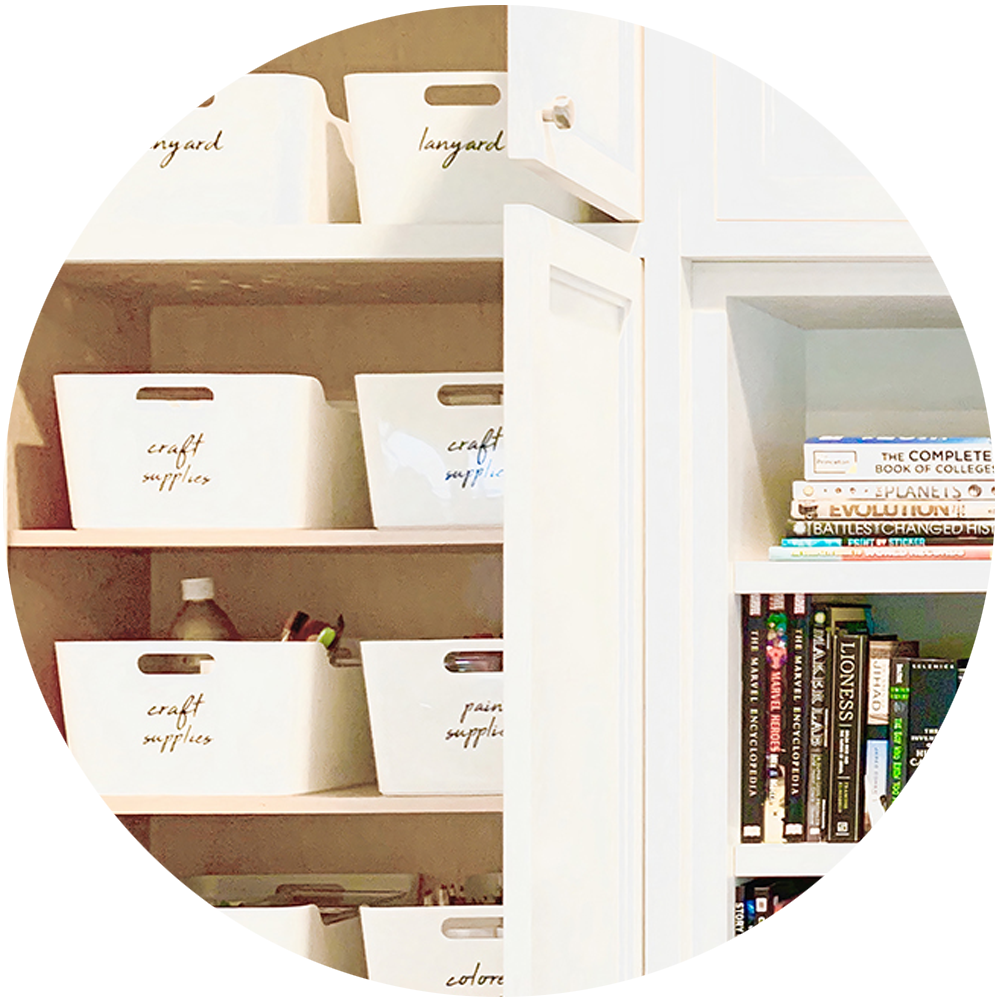
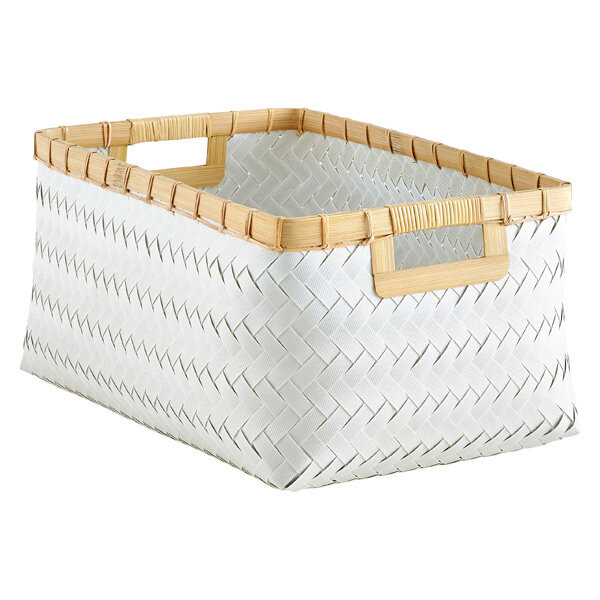
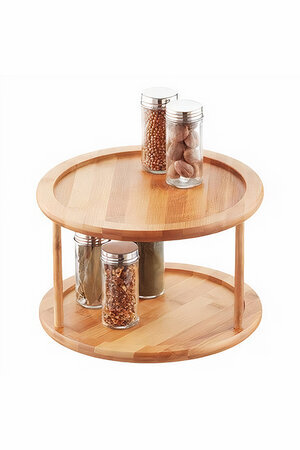
We measure a space at least twice before we decide on containers. And we also decide on a color palette in advance (in this case, whites and neutrals). The larger white baskets work well for bulkier items. Then we pepper in smaller white baskets to store prettier items, and break up the visual. For this client, we agreed on acrylic jars rather than glass so the kids couldn’t break them (where possible we love to purge packaging and decant dried goods into jars - so much easier to see what you have!) We added our custom labels to make it even easier to maintain the system, as well as our cooking labels to scribble down cooking instructions and Use By dates. One of our favorite pantry tricks is a bamboo turntable. They are great at maximizing shelf space and corralling items like cans and jars.


maison_haven_organizers_style_sheet-panry-insterts.png

3. INSERTS


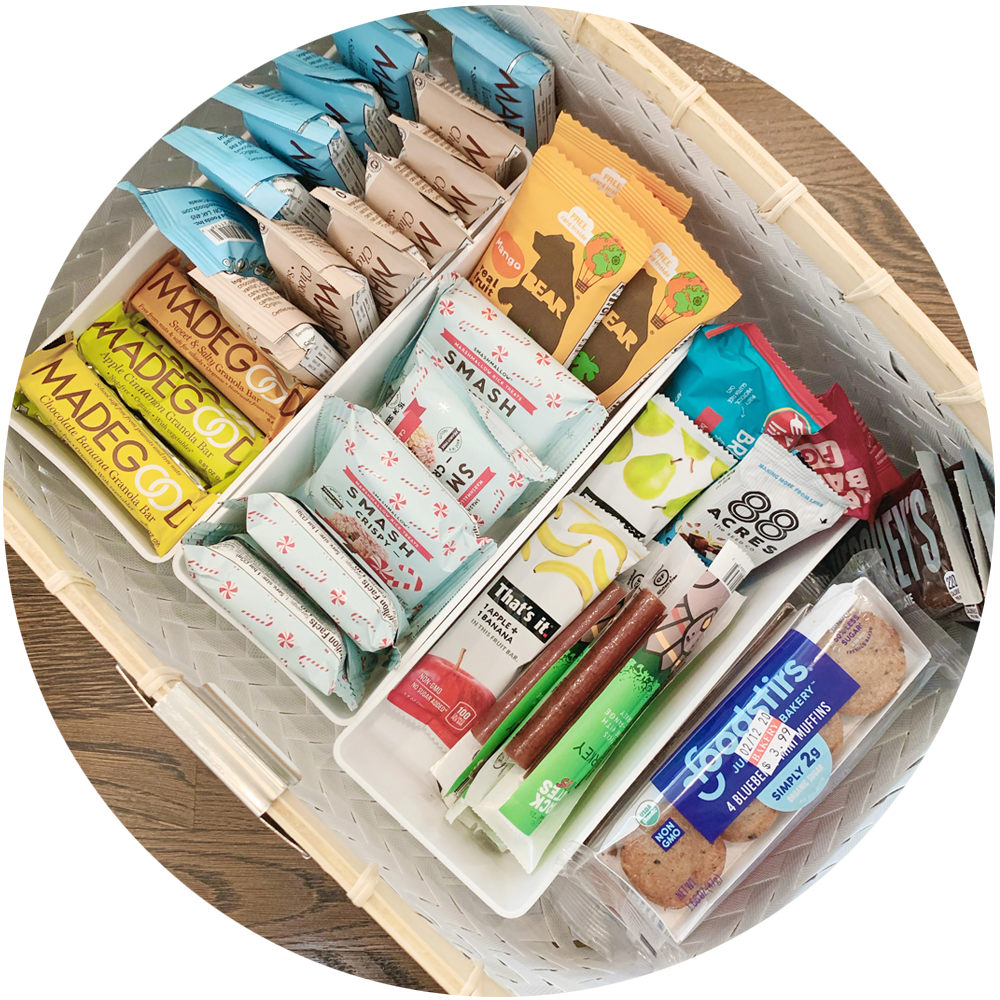
We always create a system within a system so that large baskets don’t become a hot mess. In this case, we added inserts to keep snack items neatly lined up. So much easier to grab and go!


maison_haven_organizers_style_sheet-pantry-refills.png

4. REFILLS


The refill zone is a pantry’s secret weapon. It’s all very well designing a beautiful system, but it needs to be realistic, too. We always factor in a refill area for any multiples or excess. If you’re decanting pasta and have some left over, stash it in the Refill basket. Three bottles of olive oil? They go here too. Just remember to always, always check your refills before your next grocery shop.


Fun fact

Can you spot the Wellness baskets at the top? Increasingly, we’re adding Wellness Zones to our clients’ pantries. These contain vitamins, protein powders, collagen and smoothie shakes. Even easier to stay on the healthy bandwagon! 


SHOP THE STORY


Want free swag?

Join our HAVEN INSIDER program to unlock freebies, discounts and more!


Homework Room

MAISON_Haven_Mag_Style_Sheet-04.png

Homework room

We take you behind-the-scenes of a project and break down exactly how we did it. Follow our guide and whip your kids’ workspace into shape, fast!

E3EB73A7-269D-42B0-B442-16EE476D2DF4_photos_v2_x4.jpg
 

The brief

Turn this homework room into a productive, organized space for two teenage children. The approach: we used Maison Haven’s signatures 3-step technique: edit, organize, style. We worked with the client to edit out anything that didn’t belong in this space: old schoolwork (which we archived into pretty white files), old schoolbooks (which we donated) and trash.

 
maison_haven_organizers_style_sheet_homework_room_white_containers.png

1. white containers


These are our hardest-working product! They’re chic, simple and easy to keep clean. Plus they come in a variety of sizes, which makes them extra versatile. We used the largest size here. Then we peppered narrow acrylic containers in between to house files and paper.

GET THE LOOK: White plastic storage bin


maison_haven_organizers_style_sheet_zones.png

2. zones


We designated the left hand cupboard the Craft Zone and the right hand cupboard the Schoolwork Zone. Keeping them separate helped shape the flow of the room.


maison_haven_organizers_style_sheet_homework_room_haxagon_insert.png

3. system


We like to add inserts into every container we use to keep things neat. Here, the hexagon inserts maximized the space. Plus how inviting do craft supplies look when they’re decanted!

GET THE LOOK: Tall insert


maison_haven_organizers_style_sheet_homework_room_drawers.png

4. drawers


We tamed the drawer chaos by adding acrylic dividers to customize the space. Each child was given a dedicated drawer, then we used two for general stationery supplies.

GET THE LOOK: Acrylic drawer organizers


maison_haven_organizers_style_sheet_homework_room_stickers.png

5. label


We applied our custom labels to each container. This serves two purposes. One: it makes the system easy to maintain as everyone knows where things live. Two: it adds a dose of chic to the simple, white containers.

GET THE LOOK: Custom labels


maison_haven_organizers_style_sheet_books.png

5. books


We color-coded the books because...why the hell not! We like to make a visual statement with the way we organize. A space that looks beautiful is more likely to stay that way.


Fun fact

Can you spot the label-less container? No matter how prepared we are, every job throws up a wild card. Our edit was so productive that we ended up with a spare container, which is no bad thing. Giving clients space to grow is a key part of what we do (and don’t worry, we sent her a label once she made up her mind what the container was for!)


Want free swag?

Join our HAVEN INSIDER program to unlock freebies, discounts and more!